
THE QUICK ANSWER
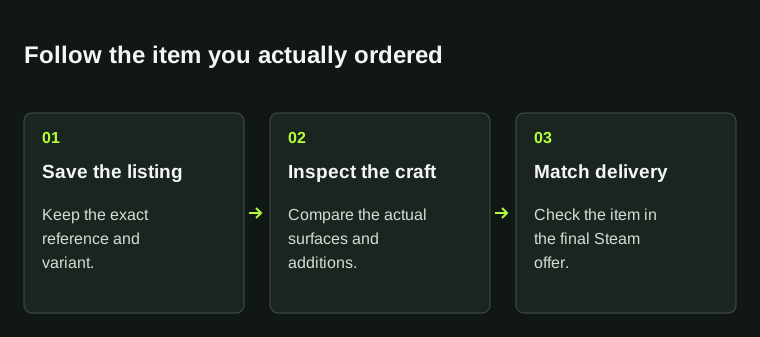
Keep the exact listing reference, inspect that item and match it again at delivery. A stock thumbnail, shared finish name or similar sticker picture is not enough.
01
Write down exactly what you intend to buy
Start with the full weapon, finish, exterior and variant. Check StatTrak or Souvenir when either is part of the listing. Then note the visible extras that matter to you, such as an applied sticker layout or a Charm.
Keep this as a short checklist beside the listing. If you would reject an item without a particular feature, write that feature down before choosing the cheapest result. The eventual trade should match the item you ordered, not only the headline finish.
Carry the same item through the purchase
Listing
Record its exact identity and reference.
Inspect
Check that item’s surfaces and extras.
Steam offer
Match the ordered item before accepting.
A consistent reference connects the listing to delivery.
StrikePot illustration02
Open the inspect control attached to that listing
Use the inspect option supplied for the individual item. Rotate it and compare the surfaces visible during play. If the listing only provides a stock image or a seller’s cropped picture, ask for the exact item evidence before deciding.
Valve’s example below shows why the reference picture is not enough: wear and the placement of visible marks can differ. Keep the listing open while inspecting so you can return to the same reference instead of a nearby result.
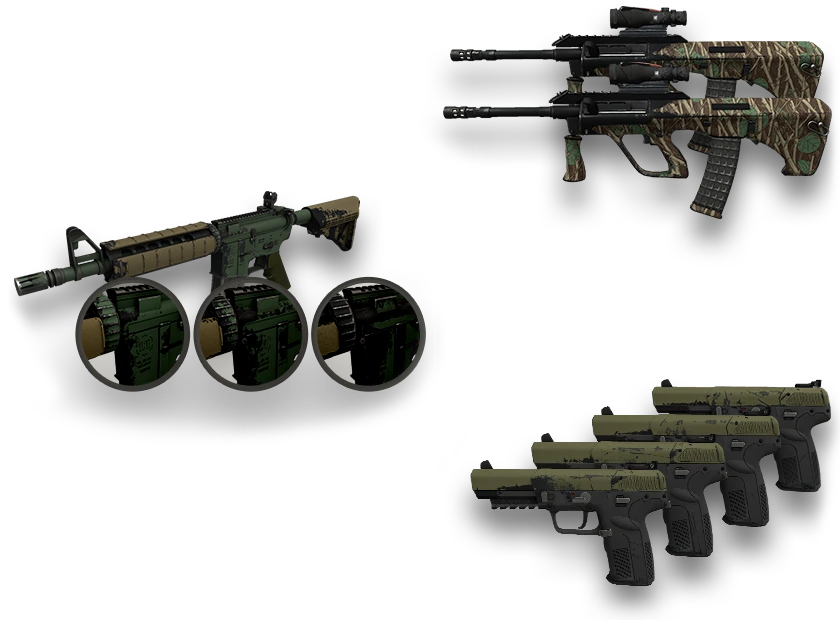
Valve’s finish illustration shows several possible appearances. Use it to understand variation, then inspect the item actually offered for sale.
Open the full-size image to read small interface details.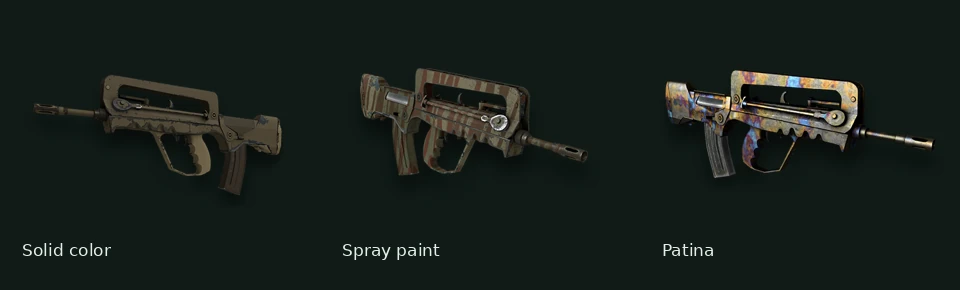
Three legacy Valve FAMAS illustrations: solid color, spray paint and patina. These are different finishes, not three wear levels.
Open the full-size image to read small interface details.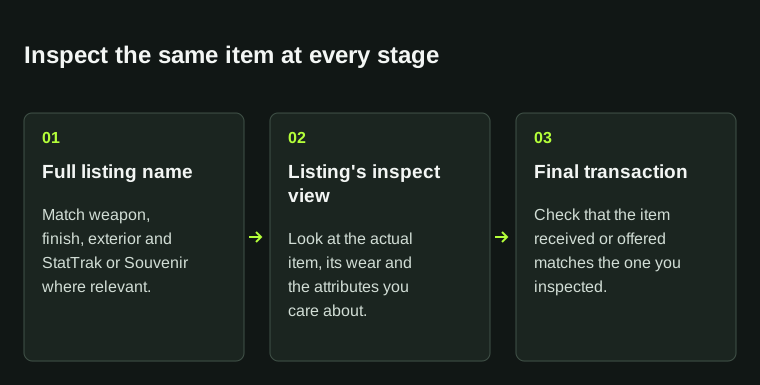
A generic finish thumbnail cannot identify every attribute of a specific item. Follow that item's own inspect view and final transaction.
03
Check appearance against the item fields
Read the exact float when the marketplace supplies it. Keep a paint seed or pattern number separate from the finish identifier. CSFloat’s item data documents paint_seed and paint_index as different fields; one should not be substituted for the other.
For a phase-sensitive or pattern-sensitive listing, keep the marketplace’s exact classification with the inspect reference. Do not identify a premium variant solely from one colour in a thumbnail. If the advertised classification and item evidence disagree, resolve that mismatch before buying.
04
Inspect the craft, not only the weapon finish
For applied stickers, check the full variant name, visible placement and condition. A missing area may be part of a scraped design, not a lighting problem. Do not use the unused sticker’s store price as automatic added value on a weapon.
Valve allows sticker position and rotation to be adjusted before application. After application, moving the sticker is not supported; removal does not return an unused copy. If your plan depends on rearranging a craft after purchase, read the sticker rules first.
Inspect two layers separately
Weapon finish
Exterior, numeric wear and visible pattern.
Applied extras
Sticker variant, layout and scraped appearance.
Your plan
Check whether an intended change is actually reversible.
Matching weapon names do not make two decorated crafts identical.
StrikePot illustration05
Check the complete purchase before paying
Compare like-for-like items and the total checkout amount, not only the first price in the results. Keep the currency and any separately displayed charges with the record. A listing’s asking price is not proof of a completed sale at that amount.
If you change your mind about the model, finish or craft, return to the listing selection. Do not rely on a later swap or refund as a substitute for checking the current purchase.
06
Match the original order in the final Steam offer
Open Steam directly and compare the account and items shown in the actual offer with your order reference. An attractive screenshot in a chat is not the offer you are accepting. Pause if the variant, item or recipient differs.
Steam’s trading interface does not transfer money, Wallet funds or gift-card value. Keep any payment-provider record separate from the Steam item offer, and do not send an extra item to a claimed verification or middleman account. Save the order and offer references if support needs to investigate a mismatch.
BEFORE YOU CONTINUE
Quick checklist
- Record the complete item and listing reference.
- Inspect the exact skin from more than one angle.
- Read numeric fields and applied extras separately.
- Check total cost, recipient and the item in the final offer.
Official sources
Official documentation reviewed on 27 October 2026. Historical creator examples are labelled in their captions.
- Valve — Weapon Finishes Guide · reviewed
- CSFloat — listing item fields · reviewed
- Steam Support — CS2 Stickers · reviewed
- Steam Support — Recommended Trading Practices · reviewed
Keep exploring skins & trading
Find practical guides for inspecting CS2 skins, understanding Rust cosmetics and comparing TF2 items.